Give paper mache heart boxes a vintage look with this project tutorial! Such a cute Valentine’s Day craft!
Paper mache boxes are a craft store staple. I see them all the time yet I never buy them – mainly because I never know what to do with them.
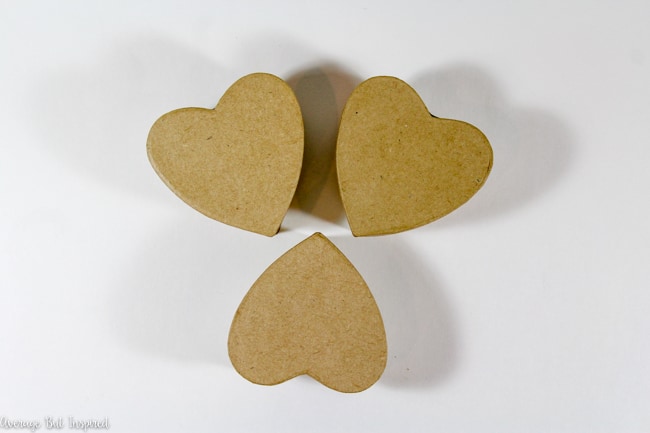
But last week my kids and I took a field trip to Hobby Lobby (it was a field trip because it was SO FAR AWAY), and three paper mache heart boxes found their way into my shopping cart (thanks, kids).
They’re pretty cute so I decided to embellish them a bit and make them look a little more festive for Valentine’s Day.
With some hot glue, paint, and scrapbook paper, I gave them a total facelift! And I’ll show you how to, too!

Now they’re cute little containers perfect for giving to anyone sweet!
Supplies Needed to Make Vintage Paper Mache Heart Boxes
This post contains affiliate links. Please read my disclosure policy for more information.
- Paper mache heart box
- Hot glue and glue gun
- Acrylic paint in colors of your choice
- Dark brown acrylic paint or wax
- Metallic creme wax in rose gold
- Patterned scrapbook paper
- Paper towel
- Scissors
- Paintbrush
- Pencil
How to Make Vintage Paper Mache Heart Boxes
These paper mache boxes are so simple to make!
I started by drawing designs on the box tops with a pencil.
Next, I fired up the trusty old glue gun and covered those designs in glue.
This was a little tricky because, as you know, hot glue gets all stringy. It was a difficult to get the designs not to look like one big connected heap of hot glue, but by working slowly it went okay.
After the hot glue completely hardened, I painted each of the boxes with chalky finish paint. Acrylic craft paint will work just fine, too!
They looked pretty basic though, and the designs did not really show up all that well, so I took some dark brown wax and brushed it all over.
I made sure to brush it on roughly and really focus on the hot glue designs to add some dimension to the boxes. This also muted the colors, which I was happy about!
Brown wax can be tough to find or expensive, so you could also water down some dark brown acrylic paint and put hardly any on the brush. Then, you can go over those raised areas and deposit the smallest amount of paint. It will give a similar effect to the wax.
Finally, I decided to really make the hot glue designs pop by highlighting them with metallic wax!
I rubbed a little on a paper towel and passed over the designs. This really helped them stand out!
Finally, I traced the bottom of each heart onto some cute scrapbook paper. I cut the paper hearts out and laid them inside of each box.
This way there’s a cute little surprise inside each box when it’s opened.
Fill these babies with some candy and you’ve got a cute little gift for someone special!
I saw some paper mache heart boxes just like these at Dollar Tree, too, so keep your eyes out for them!
The possibilities are endless for how to decorate these, but I do really like the vintage look mine have!
Well now I need to go eat some of these candy hearts from the photos. It’s the right thing to do . . . I wouldn’t want my kids’ teeth to rot from eating them.
Angie ~ ambient wares says
Spot on with the vintage look! Using the hot glue gun turned out perfect. Such a great look and you’re a good mom for saving the kids from rotting teeth 😉
Bre says
I mean, I really love my kids so much, and I only want the best for them. It was the right thing to do. That’s why I’m going to eat more of it tonight. 😉