
Hi, friends-
If you’ve been following my blog for any amount of time at all, you know that I have a deep love for Dollar Tree. I find the BEST things there, and of course they’re always things that I never knew I needed before.
Things like this splatter screen that I found in the kitchen section.
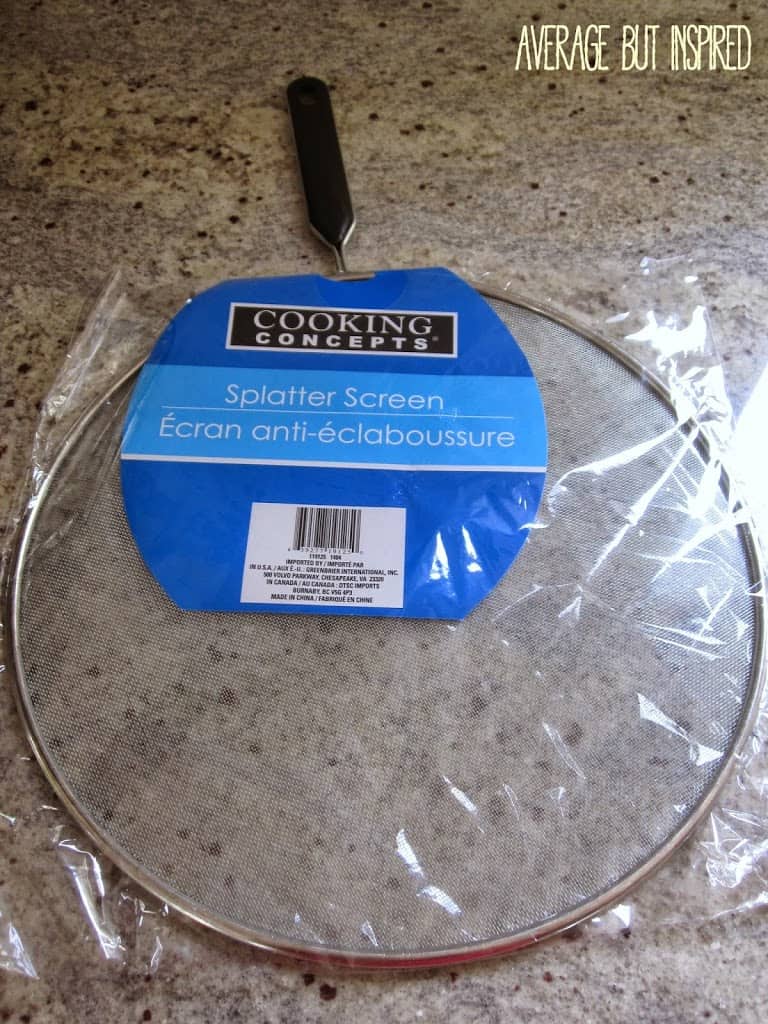
What in the world do you do with this thing in the kitchen? It has a mesh screen, so I don’t really understand how it’s supposed to prevent splattering, but whatever – I didn’t buy it for the kitchen anyway.
Nope. From the second I laid eyes on it, I thought EARRING ORGANIZER!
See, I have a collection of some awesome dangle earrings that I used to wear on nights out. Since my nights out now usually consist of “Kids Eat Free Night” at [insert local brewpub name here], I don’t wear my fun earrings all that much anymore. They sit in my jewelry box and tangle themselves up with my more practical earrings, which is super annoying.
So, I decided they need to be segregated and I made this special place for them – all from my Dollar Tree splatter screen!
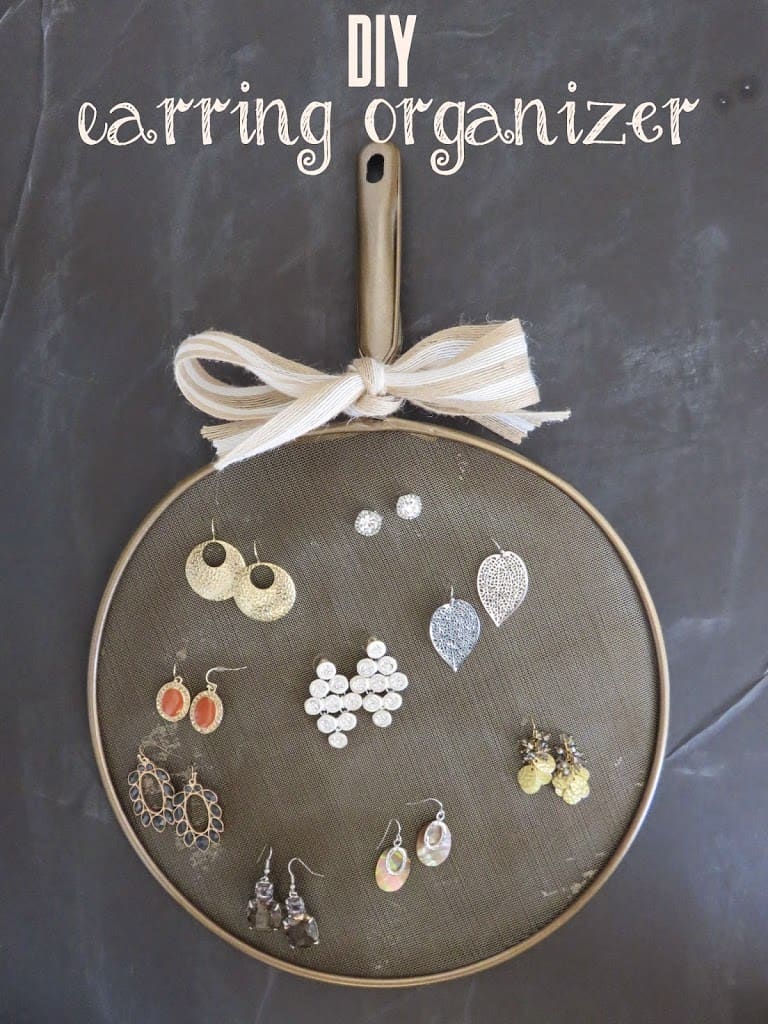
Easiest project EVER. I know I’ve said it before, but this time it is the truth. All you need is:
- splatter screen
- spray paint
- ribbon
Step One
Spray paint your splatter screen. (Learn from my mistake – make sure the screen part isn’t touching whatever you’re painting on, as the paint may pool and form smudges on your screen.)
Step Two
Add some ribbon to the top of the splatter screen for a cute touch.
Step Three
Put your earrings through the mesh and hang up your new earring organizer.
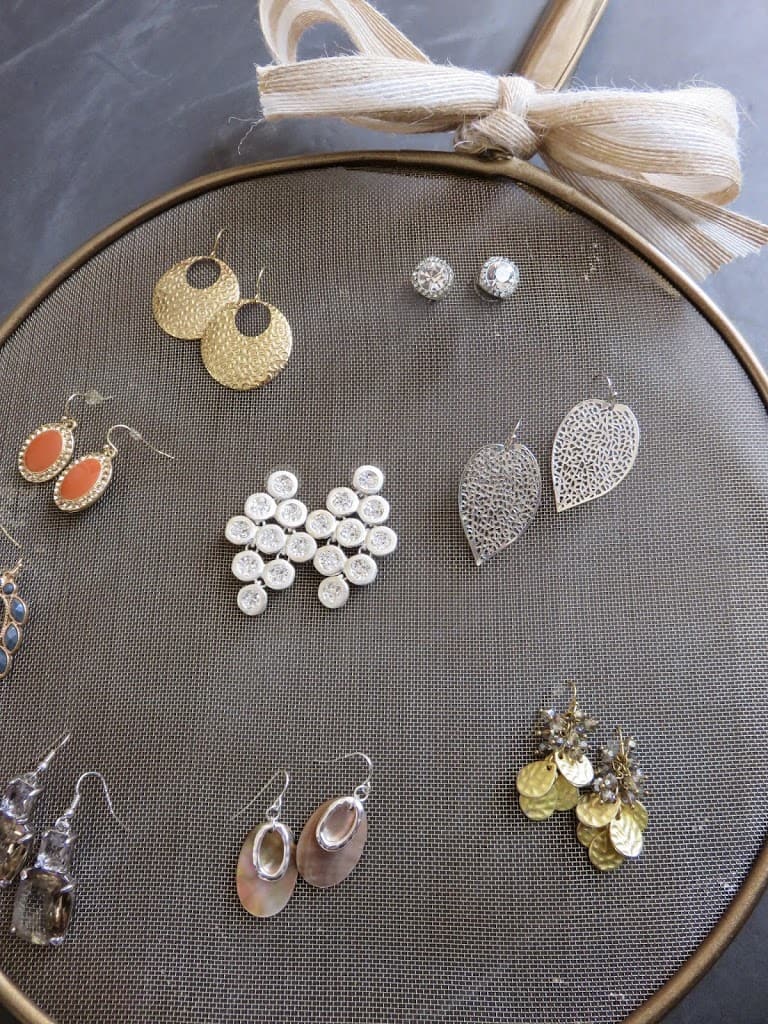
SEE? I told you it was the easiest project ever.
– Bre
Carolyn says
I just found you today and I love you already! I have found several ideas in a short time.
Bre says
Hi, Carolyn! YAY!! You have no idea how happy this note makes me! 🙂 Thank you so much for looking around and for leaving me this note. Enjoy the rest of your day!
Michelle D. says
I love this idea! But the screens actually do work pretty well to prevent splatters. Only problem is, mine rusted pretty quickly due to moisture build-up, and then when that moisture leaked into my spaghetti sauce, I ended up with metal-flavored sauce!
lisa at mabey she made it says
I love this idea! I’m featuring you today at Mabey She Made It
Bre says
Hi, Lisa! Thank you so much! Sorry I missed the party this week – I will be linking up next week. I appreciate the feature!!
Amber says
SO creative!
Thanks for linking up to YDTT! Featuring this great idea today! 🙂 Happy Monday!
Bre says
Hi, Amber! You are too sweet! Thanks so much for the feature – I really appreciate it!!
Emily says
Great idea! A much better solution then being tangled in a jewelry box. Thanks for sharing with us at Your Designs This Time.
Emily & Erin
elizabethjoandesigns.com
Bre says
Hi, ladies – thank you!! I appreciate your kind note and am always glad to link at your great party! Have a great day.
Chelsea | Mommie and Wee says
This is super cute! And I agree, I don’t think it would do a very good job decreasing splatters… Thanks for linking up with me and my lovely co-hosts at Pin Worthy Wednesday! I’ve pinned your post!
Bre says
Hi Chelsea! Thank you!!! I appreciate your sweet note and that you pinned it! Have a great day!
Tanya says
I need this SO MUCH!! What a fantastic idea!
Hopping over from Wake-Up Wednesdays. I am a co-host at the party and would like to thank you for joining us!
-Tanya
http://tanyaanurag.blogspot.com/
Bre says
Hi, Tanya! Thank you very much! You ladies have a great party and I appreciate you taking time to leave me a nice note. Have a great rest of your weekend!
Krista @ Joyful Healthy Eats says
Seriously such a genius idea! I so need to make one of these, my earring look like a hornets nest right now!
Bre says
Hi, Krista – thank you! It really has been great for keeping them together as a pair and untangled. Have a wonderful weekend and thanks for your note!
Jennifer Dawn Oliver Shelton says
What a cute idea! I’d love for you to share this at my weekly link party! http://www.thelifeofjenniferdawn.com/2014/09/a-little-bird-told-me-link-party-108.html Hope to see you there!
Bre says
Hi, Jennifer – thank you for your note and for the invitation to your link party! I am going to check it out! Have a wonderful weekend.
Ashley @ 3 Little Greenwoods says
Love this idea! Super easy, cute, and functional!
Thanks so much for sharing on Show-Licious!
~ Ashley
Bre says
Thanks, Ashley! Have a great weekend!
Selene @ Restoration Beauty says
Very cute and creative!!
Bre says
Thank you, Selene! Have a wonderful weekend. 🙂
Jennifer - The Deliberate Mom says
What a brilliant and cute idea! Thanks so much for sharing!
xoxo
Bre says
Hi, Jennifer – thank you so much! Hope you have a wonderful weekend!
Breanna Bertolini says
SO easy and SO cute!! You rocked it 🙂
Bre says
Thanks, lady!
Denise says
What an easy, adorable idea. Thanks for sharing.
Bre says
Thanks, Denise!
making it in the mountains says
SUCH a cute idea! Love that you spray painted it too! BRILLIANT!
Bre says
Thank you, Kristi! Well, as you know, bloggers are required to spray paint everything, so it was a given. 🙂